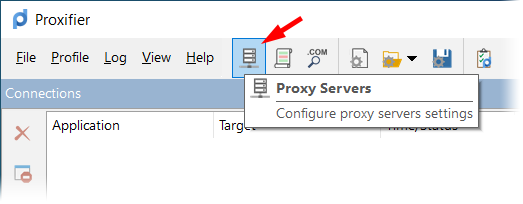
To add a proxy server, click either Proxy Servers in the Profile menu or the corresponding item on the toolbar.
WARNING!
If you used proxies before installing Proxifier, you should disable any built-in proxy settings and then configure your applications to connect directly to the internet (rather than through proxies). Otherwise the connection may be processed through the proxy twice by application itself and Proxifier.
This will open a dialog window that allows you to add, edit, or remove the proxy servers and proxy chains used by Proxifier. If several proxy servers are specified, you can create proxy chain.
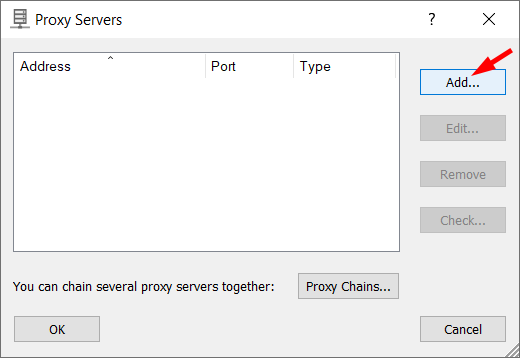
A proxy server will be displayed in bold if it is defined as the Action for the Default Proxification Rule.
The order of the proxy servers in the list is irrelevant. You can sort the list by address, port, or type (protocol).
To add a proxy server, click the Add button to launch the dialogue box in which you can specify the details of the proxy server.
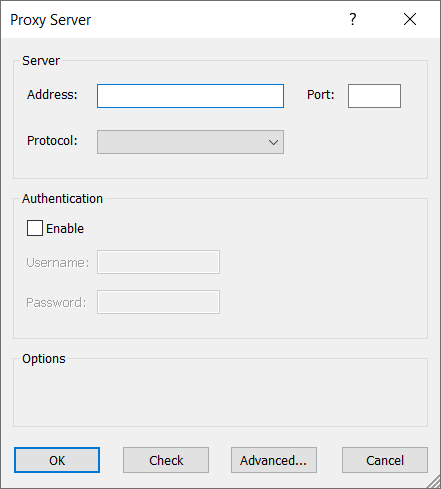
Address
The address of the proxy server can be a hostname or IPv4/IPv6 address.
Port
Enter the port number to connect to the proxy server (usually 1080, 80, 8080, 3128, etc.).
Protocol
Choose the protocol used by the proxy server. Proxifier supports four protocols:
WARNING!
Many HTTP proxy servers do not support SSL tunneling, so they cannot be used as HTTPS. If an HTTP proxy works properly in the browser but fails in Proxifier, SSL support is most likely unavailable. You can also check the proxy with the Proxy Checker tool.
Authentication and Options
The available options depend on the proxy server protocol.
You can check any proxy in the Proxy Checker tool using the Check button.
The Advanced button allows you to set the advanced parameters for the proxy such as custom label, interactive login, and others.